As moving day looms closer, we all dread the day when we can’t put it off any longer and have to make a start on the kitchen. It’s nightmare if you’re not already acquainted with the moving process but luckily for you, we’ve compiled a list of handy tips and tricks to ensure your move flows as seamlessly as possible!
Throw Away Everything You Don’t Use
We mean it, if it’s so old and unloved that you didn’t even realise you still had it, you won’t need it! You don’t have to throw them out, you can give good quality items to your local charity shop or even sell them online.
Start With The Least Used
Baking trays, gravy boats, hand-blenders etc., it’s always best to start with larger items you don’t use everyday.
Heavy and Light
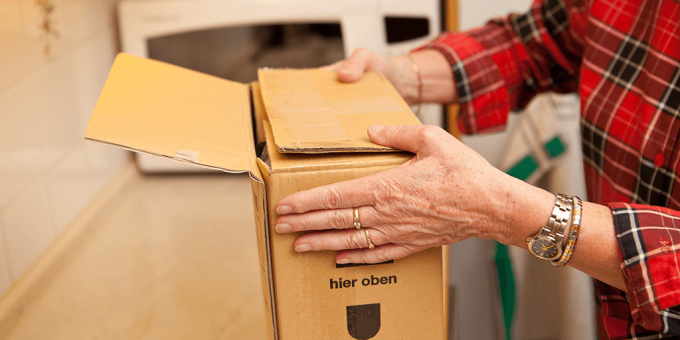
Make a mental note of the different assortment of weights and sizes that exist in your kitchen so you can acquire packing materials accordingly. For instances, small, strong boxes with good linings are the best for fragile glassware and crockery whereas bigger, lightweight, non delicate items can make do in flimsier, bigger boxes.
Hoard Packing Materials
In our experience, this is always what people underestimate the most about packing, thinking a few boxes will do just fine. You can’t have enough materials to pack with and you need to consider how you’ll protect your fragile items. We’re talking paper, newspaper, bubble wrap, tea towels, real towels, bed linen (anything soft like this is useful), tape, labels, boxes, marker pens, the whole works!
Fragile Items
In general, use plenty of bubble wrap and wrap everything fragile individually to avoid breakages. Very delicate plates are best stacked on their sides to avoid collisions and bumps.
Small Items
To save space, it’s always worth trying to pack smaller items inside larger ones wherever you can. Sandwich boxes full of forks for instance is a wonderful trick. It saves space at is a very protective transportation method!
White Goods
These can be taken care of last; you should start the white good packing process 24 hours before the move. Firstly, throw away any food inside, defrost and clean the interior. Bare in mind that defrosting a freezer can produce a lot of water and you’re in danger of damaging the kitchen floor if there’s nothing to soak it up! It’s also a good idea to clean the back and underneath the outside of your white goods as that way, they can go straight into your new kitchen, no work required. In most modern white goods, the gases inside mean that they must remain upright at all times, especially in transit, (a good removal company should always follow this rule!) Additionally, they need to be left to sit and readjust once you’ve reached your final destination. After a few hours, you’ll be able to plug them back in and start them up again!